
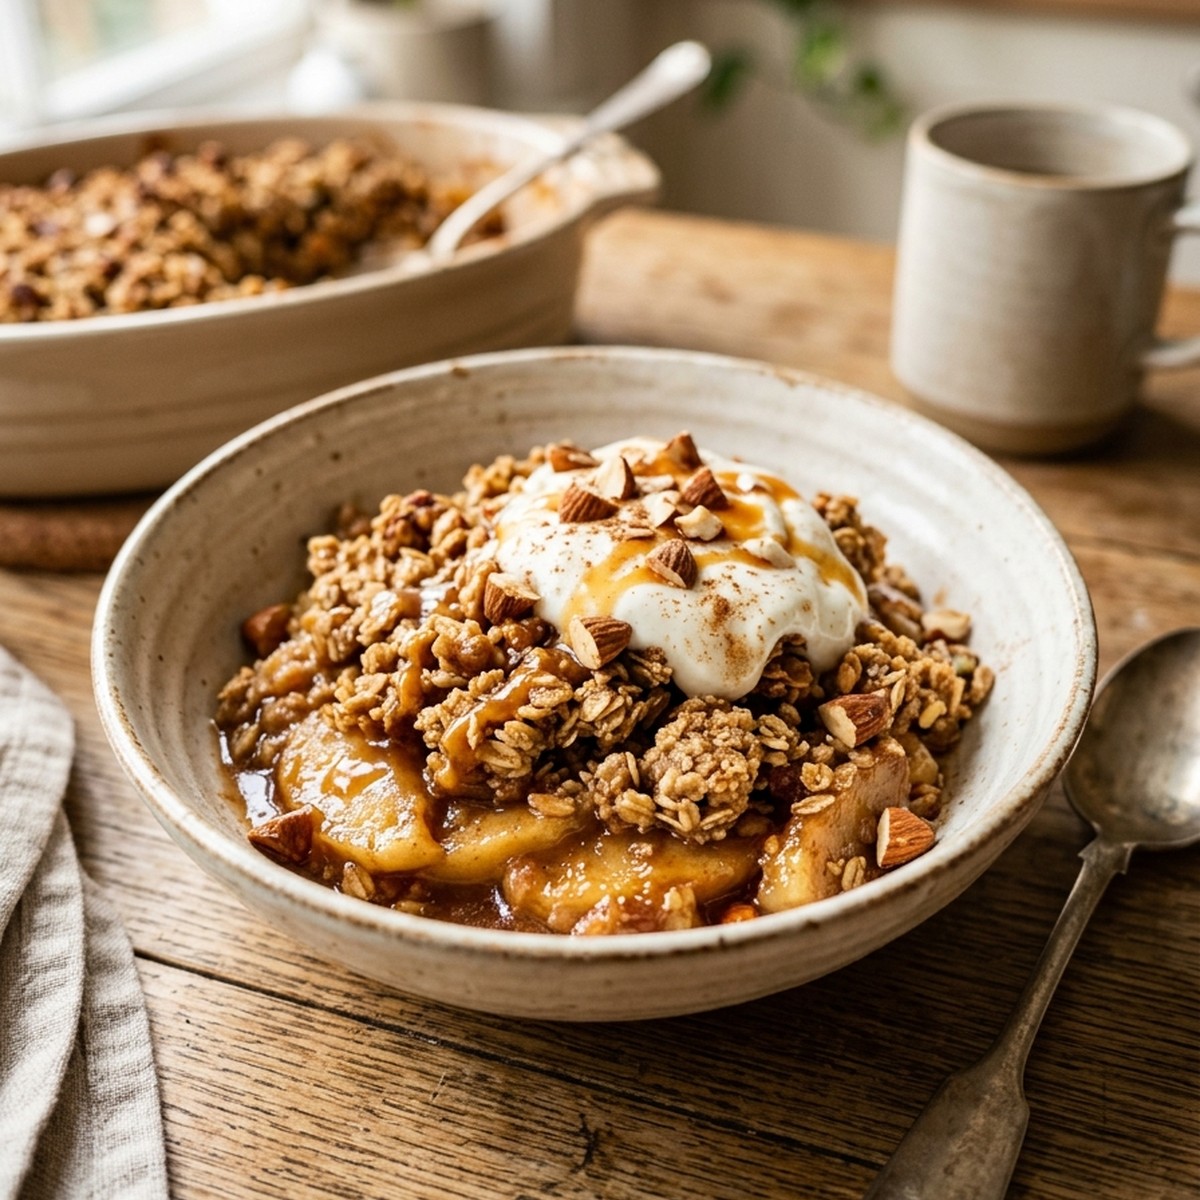
High Protein Apple Crisp is a single-serving fruit dessert with diced apple, oats, nut butter, and vanilla protein powder baked into a warm, spoonable crisp. It gives you the cozy apple-cinnamon comfort of a classic crisp in a smaller portion that works for a macro-friendly snack, a simple dessert, or a sweet after-dinner bite. I like this recipe because it uses pantry basics and does not require a full baking dish or a long ingredient list. The apple softens under the topping, the oats add texture, and the nut butter helps the crisp layer hold together without much fuss. Use a small ramekin, dice the apple finely, and let it rest for a few minutes so the topping settles before you dig in.
| Serving Breakdown | |||
|---|---|---|---|
| 12gProtein | 10gFat | 30gCarbs | 250Calories |
Nutrition values are estimated per serving and may vary based on ingredients, brands, and portion size.
Why You’ll Love This High Protein Apple Crisp
This small apple crisp is practical when you want a warm dessert without making a full pan. Here’s why:
- Single-serving size: It makes one cozy ramekin, which is helpful for portion control, late-night cravings, or a small snack after lunch.
- Protein powder built in: Vanilla protein powder blends into both the apple layer and oat topping, giving the dessert more staying power.
- Pantry-friendly ingredients: Oats, cinnamon, nut butter, and apple are common staples, so this is easy to pull together without a special grocery trip.
- Warm fruit dessert feel: The apple turns tender, the cinnamon smells cozy, and the topping gives you that crisp-style bite.
- Flexible sweetness: The apple and vanilla protein powder bring sweetness, while the lemon juice and salt keep the flavor balanced.
Ingredients You’ll Need
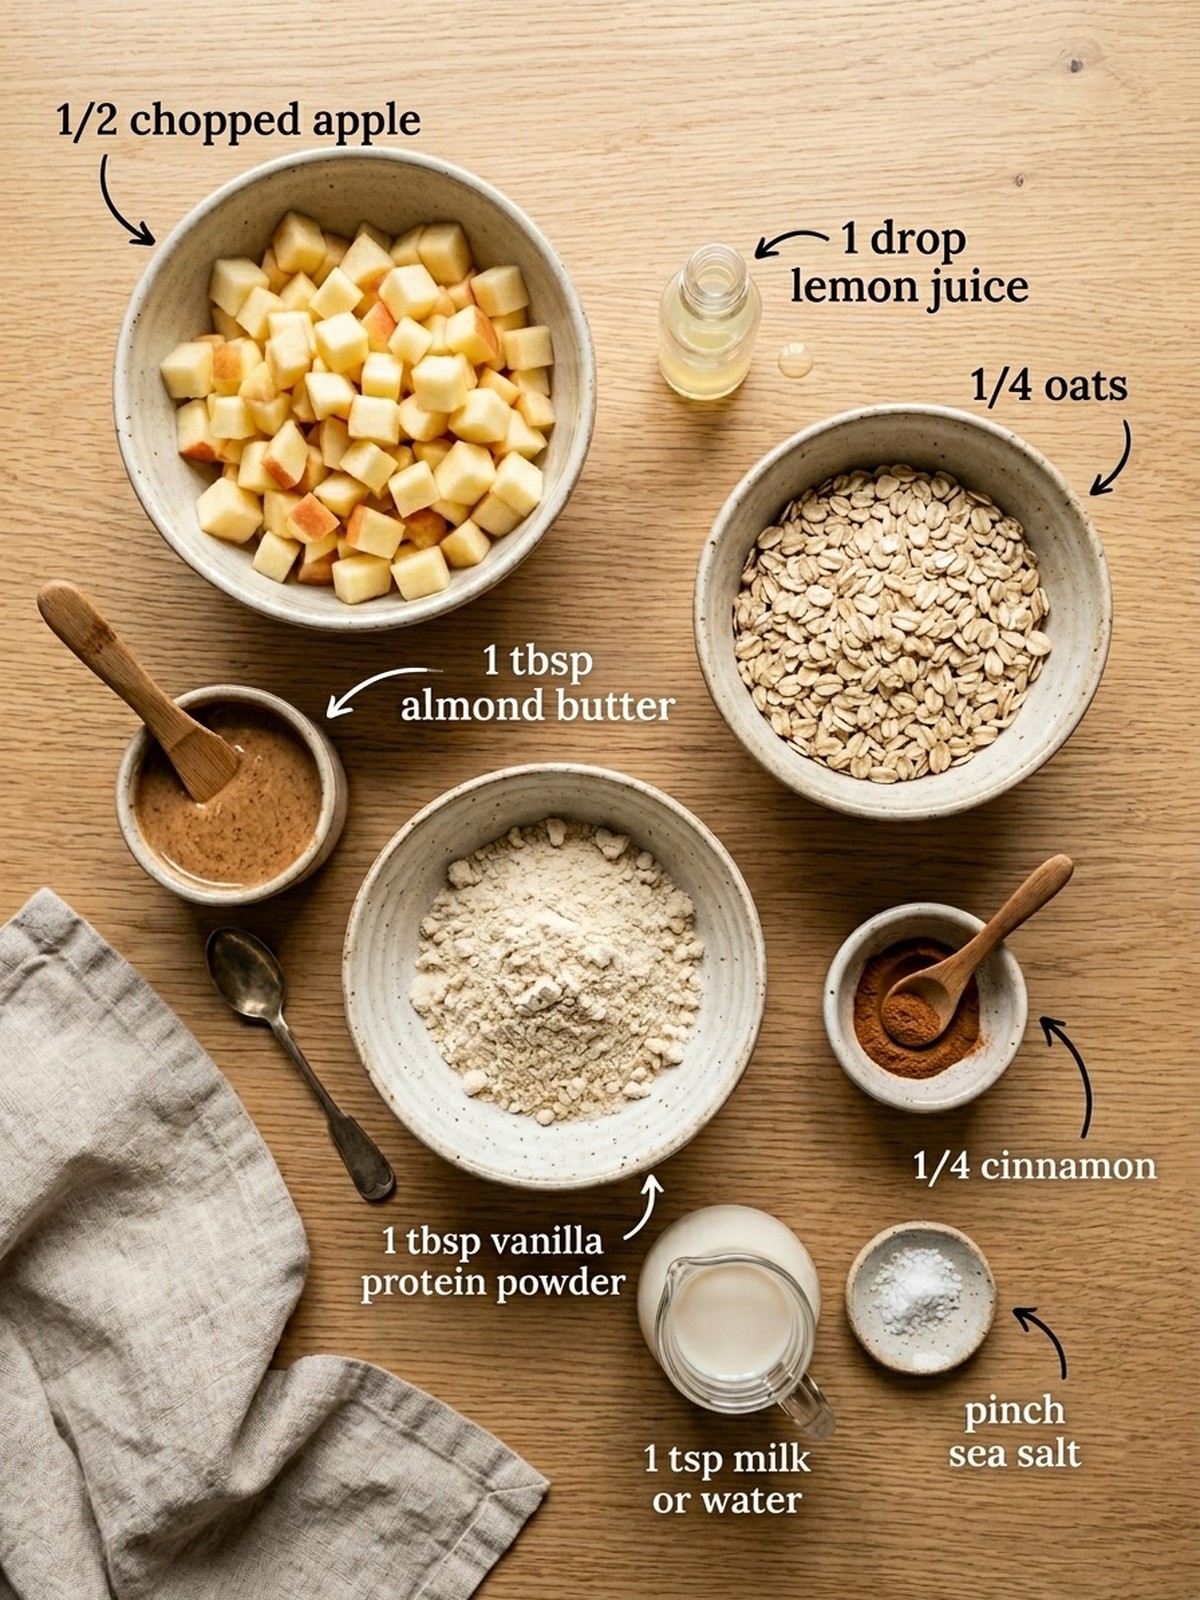
- Chopped apple (1/2 cup): Dice it small so it softens evenly in the ramekin and gives every spoonful tender apple pieces.
- Cinnamon (1/4 teaspoon): This gives the crisp its classic apple dessert flavor without needing a long spice list.
- Vanilla protein powder (1 tablespoon for apples): Stirred into the fruit layer, it lightly thickens the juices and adds a gentle vanilla note.
- Lemon juice (1 drop): A tiny amount brightens the apple and keeps the sweetness from tasting flat.
- Salt (1 pinch): Salt makes the cinnamon, apple, and nut butter taste more balanced.
- Vanilla protein powder (1 tablespoon for topping): This second spoonful blends into the oat topping for extra structure and flavor.
- Nut butter (1 tablespoon): Almond or peanut butter helps bind the oats and adds richness to the crisp layer.
- Milk or water (1 teaspoon): I use just enough to loosen the topping so it can be scattered over the apples.
- Rolled oats (1/4 cup): Oats give the topping its hearty texture and work better here than instant oats.
Before You Start
- Use a small ramekin: A 6 to 8 ounce oven-safe ramekin keeps the apples deep enough to stay tender.
- Dice the apple finely: Smaller pieces cook more evenly and finish before the topping gets too dark.
- Check your protein powder: Some powders absorb more liquid, so add the milk or water gradually.
- Set up the topping first: Mixing the topping before baking helps you see whether it needs another splash of liquid.
I like to press the apple layer down gently before adding the topping. It helps the fruit cook evenly and keeps the crisp from sitting too high in the ramekin.
How to Make High Protein Apple Crisp
- Step 1 – Heat Oven: Preheat the oven to 350°F and lightly grease a small oven-safe ramekin.
- Step 2 – Season Apples: Stir the chopped apple with cinnamon, 1 tablespoon protein powder, lemon juice, and salt.
- Step 3 – Fill Ramekin: Spoon the apple mixture into the ramekin and press it into an even layer.
- Step 4 – Mix Topping: Combine oats, nut butter, remaining protein powder, and milk or water until crumbly.
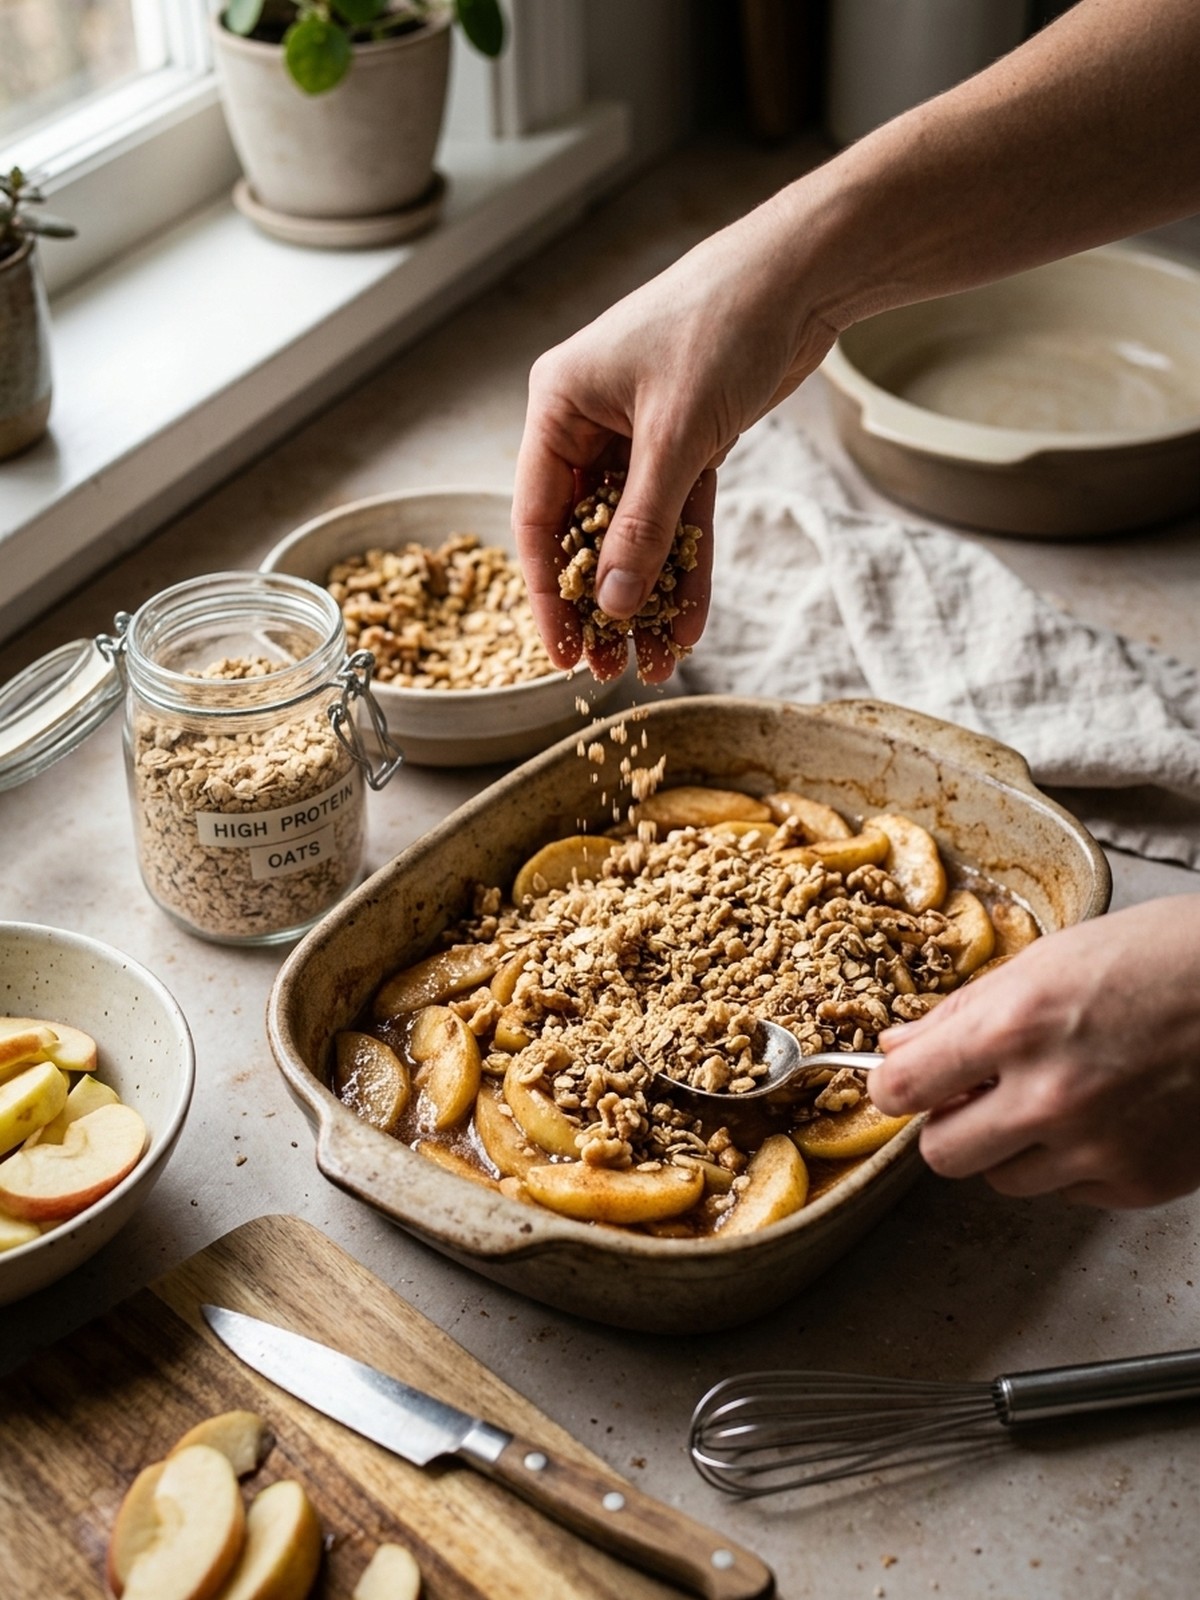
- Step 5 – Add Topping: Scatter the oat mixture over the apples, leaving a few loose pieces for texture.
- Step 6 – Bake Crisp: Bake for 12 to 15 minutes, until the apples soften and the topping looks set.
- Step 7 – Rest Briefly: Let it cool for 5 minutes so the filling thickens and the topping firms slightly.
How to Know When High Protein Apple Crisp Is Done
- Apple texture: The diced apple should be tender when pierced with a small spoon or fork.
- Topping look: The oat layer should look set, slightly dry on top, and lightly golden around the edges.
- Filling cue: A little syrupy apple juice may bubble around the sides of the ramekin.
- Resting cue: After 5 minutes, the filling should look thicker and easier to scoop.
Tips to Make It Easier
- Use a sweet apple: Gala, Honeycrisp, or Fuji works well because the recipe does not rely on added sugar.
- Watch the topping: Protein powder can brown faster than plain flour, so I check the ramekin near the 12 minute mark.
- Adjust moisture: If the topping seems dusty, I add another few drops of milk or water before baking.
- Keep pieces small: Large apple chunks may stay firm while the topping finishes cooking.
- Choose rolled oats: Rolled oats give better texture than quick oats and hold up nicely in the small crisp.
- Serve warm: The flavor and texture are best after a short rest, while the apple is still cozy.
How to Store and Reheat
- Fridge: Cover the cooled ramekin and refrigerate for up to 3 days.
- Freezer: Freezing is not my first choice because the topping softens, but it can freeze for up to 1 month.
- Reheat: Warm in a 300°F oven or toaster oven for 6 to 8 minutes, or microwave for 20 to 30 seconds.
- Texture refresh: For a firmer topping, reheat uncovered in the oven instead of the microwave.
- Food safety: Do not leave the cooked crisp at room temperature for more than 2 hours.
Easy Swaps & Add-Ins
- Apple swap: Use pear instead of apple for a softer fruit crisp with a mellow flavor.
- Nut butter swap: Peanut butter tastes richer, while almond butter keeps the topping a little more neutral.
- Spice add-in: Add a tiny pinch of nutmeg or cardamom if you want a warmer bakery-style flavor.
- Extra crunch: Stir in a teaspoon of chopped walnuts or pecans if you have them on hand.
- Dairy-free option: Use water or a non-dairy milk to loosen the topping.
- Sweeter version: Add a small drizzle of maple syrup if your apple or protein powder is not very sweet.
What to Serve With High Protein Apple Crisp
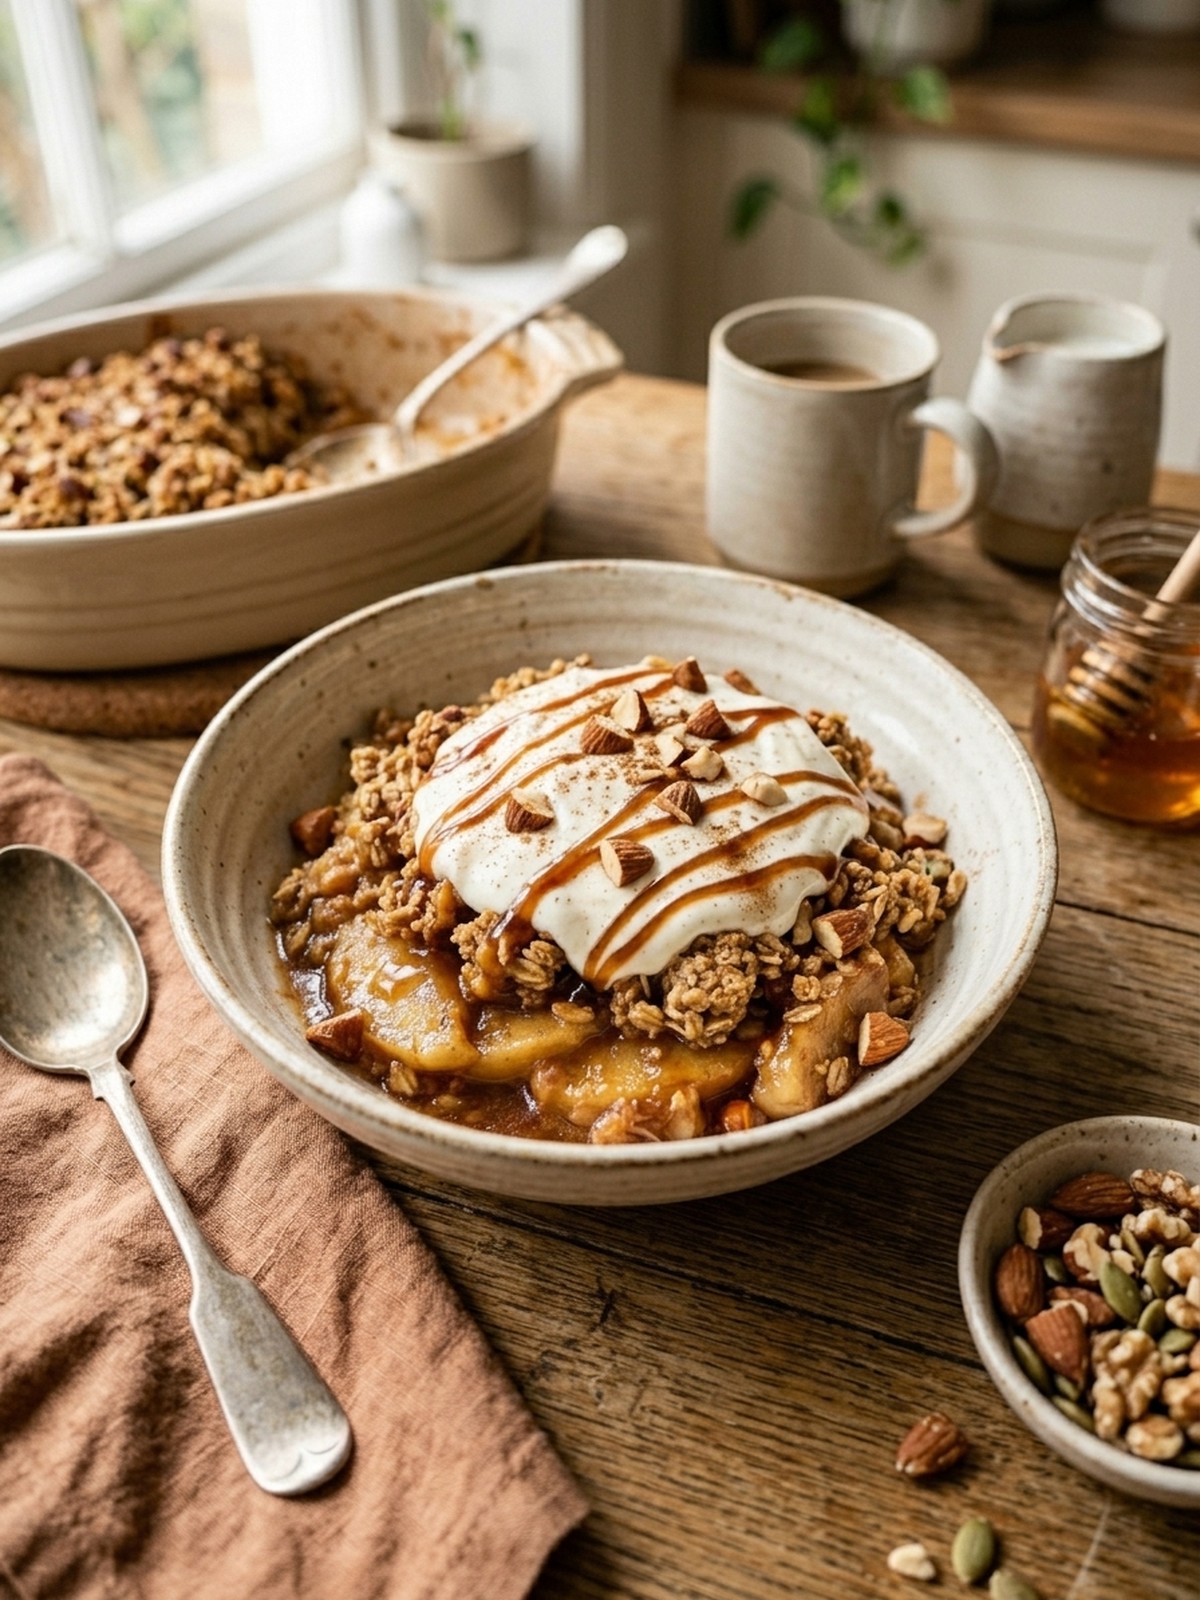
- Greek yogurt: A spoonful adds creaminess and makes the crisp feel more like a balanced snack.
- Cottage cheese: Serve it on the side for a creamy high-protein pairing.
- Hot coffee: The cinnamon and apple flavor pairs well with a small afternoon coffee.
- Vanilla yogurt: This works like a lighter dessert topping and keeps the flavors soft.
- Fresh berries: Berries add a cool, bright contrast beside the warm apple crisp.
- Chopped nuts: A sprinkle on top adds more crunch if the crisp has softened after storing.
FAQs
Yes, microwave it for 60 to 90 seconds for a softer version. The topping will not crisp as much.
Vanilla protein powder works best because it adds sweetness and flavor. Plant-based powder may need a few extra drops of liquid.
Yes, double everything and use two ramekins or one small baking dish. Add a few extra minutes if needed.
Protein powders absorb liquid differently. Add milk or water a few drops at a time until the topping looks crumbly.
You can mix the topping and apples separately ahead, then assemble and bake when you want the best texture.

High Protein Apple Crisp
Equipment
- 6 to 8 ounce oven-safe ramekin
- Small Mixing Bowl
- Measuring spoons
- Spoon
Ingredients
- 1/2 cup chopped apple diced small
- 1/4 tsp cinnamon
- 1 tbsp vanilla protein powder for the apple layer
- 1 drop lemon juice
- 1 pinch salt
- 1 tbsp vanilla protein powder for the topping
- 1 tbsp nut butter almond or peanut
- 1 tsp milk or water
- 1/4 cup rolled oats
Instructions
- Preheat the oven to 350°F and lightly grease a small oven-safe ramekin.
- Stir the chopped apple with cinnamon, 1 tablespoon protein powder, lemon juice, and salt.
- Spoon the apple mixture into the ramekin and press it into an even layer.
- Mix oats, nut butter, the remaining protein powder, and milk or water until crumbly.
- Scatter the oat topping over the apples, keeping the layer loose enough for texture.
- Bake for 12 to 15 minutes, until the apple is tender and the topping looks set.
- Cool for 5 minutes before serving so the filling thickens slightly.